Controller Deadzone Explained: Find a Setting That Feels Right
Updated · Written by Javed Niamat
Learn the difference between inner and outer deadzones, sensitivity and response curves, then tune each stick without treating a setting as a repair.
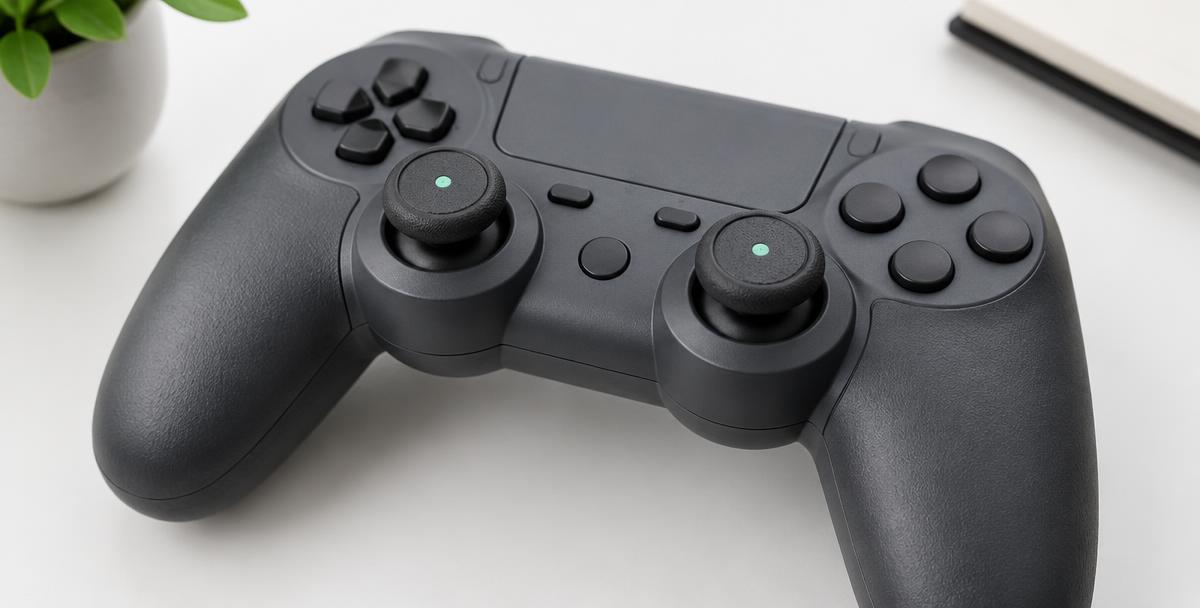
Your aim moves at rest—or feels slow to start
Those two complaints can point in opposite directions. Unwanted movement may need a larger ignored center region, while a stick that feels unresponsive near the middle may already have too much. A controller deadzone is a region of stick input that the game or mapping software ignores. This guide is about choosing a usable setting, not cleaning or repairing a stick. Start with the game where you notice the problem; a value that feels good in one title is not automatically right for another.
Inner deadzone: how far you move before input counts
An inner deadzone ignores a small area around the stick's resting position. Inside it, the game treats movement as zero. Outside it, movement begins to count. Too small a region can allow tiny unwanted inputs into the game; too large a region makes you push farther before aiming or walking starts. Read the game's own scale carefully. A slider labelled 5 might mean five percent, five arbitrary units, or a value with a different interpretation. Do not copy another player's number without checking what that number means.
Outer deadzone: where full input begins
An outer deadzone concerns the edge of stick travel, not the center. Depending on the software, it changes how close to the edge you must move before the output reaches its maximum. It may be labelled an outer threshold or maximum-input threshold. These controls do not all run in the same numerical direction. Read the description and compare the effect before increasing a value. Changing an outer setting will not stop a character creeping while the stick is untouched.
Deadzone is not sensitivity
Sensitivity usually changes how quickly a camera turns for a given accepted input. A response curve changes how stick movement translates into output along its range. The deadzone decides which input is ignored before that response begins. Raising sensitivity therefore does not reliably solve a large ignored center region; it can simply make the remaining movement more abrupt. Change the deadzone first if your complaint is the start of movement, then assess sensitivity separately. If the game exposes acceleration, leave that unchanged during the comparison.
Radial and axial deadzones can feel different
A radial deadzone uses distance from the stick's center. An axial approach can treat horizontal and vertical movement separately. That difference can affect diagonal movement and the way input crosses a boundary. You do not need to pick a mathematical shape unless the game or controller software offers that choice. When it does, try slow horizontal, vertical and diagonal movements rather than judging it only by a quick circle. Neither method is universally best across every game.
Tune one stick with a repeatable comparison
Write down the original settings, then use a training area or quiet in-game scene. Leave the controller on a steady surface and watch for unwanted movement. If it occurs, increase the inner deadzone by the smallest available step and repeat. Next make small deliberate movements in several directions and check that they begin when you expect. Find a balance that stops the symptom without making fine control unnecessarily difficult. Repeat for the other stick; movement and camera sticks may need different settings.
Use browser readings as context, not a conversion chart
GPad Checker's stick drift test shows the axis values the browser receives. It can help you notice a resting offset and compare repeated releases, but it does not read or change your game's deadzone. A browser magnitude of 0.05 is not a universal instruction to set every game's slider to 5. Device processing, mapping and game-specific scaling can differ. Our tester's drift highlight is a visual threshold, not a manufacturer pass/fail standard or a recommended setting for your game.
Check for settings applied in more than one place
A controller profile, a remapper such as Steam Input, and the game can each modify stick input. If movement still feels odd, review those layers before making another large adjustment. Keep a record of your profile and change one layer at a time. Do not assume identical-looking sliders stack in a simple way. A clean comparison helps you find whether the large ignored region comes from the game, an input profile, or both.
When a deadzone is no longer a useful workaround
If unwanted movement needs progressively larger settings, appears as sudden jumps, or stops you making normal inputs, save those observations for the manufacturer's support team. A deadzone can hide some symptoms; it cannot fix wear, damage or every calibration problem. There is no single best percentage for all controllers, and zero is not automatically a badge of quality. The right practical setting preserves control in your game without hiding a worsening problem indefinitely.